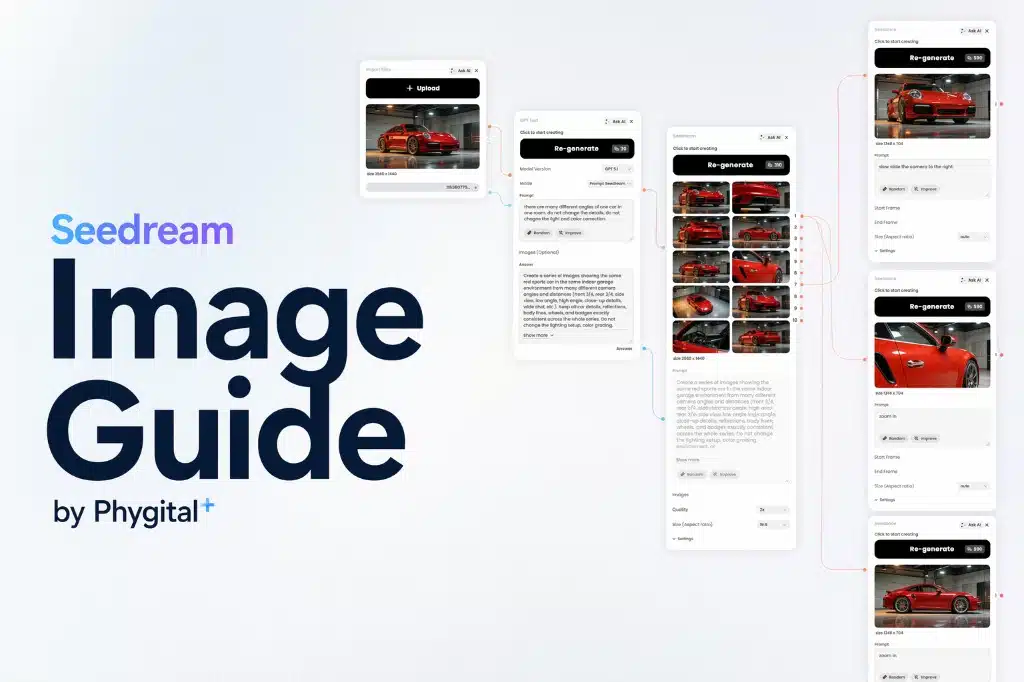
It’s easy to assume ChatGPT Images has been around forever, simply because it now feels like one of the most familiar names in AI image generation. Hard to believe, but the image generation feature was introduced to users only in March 2025.
Now, a year later, in April 2026 the model received yet another major update. The shift seems to be more about usability with new features.
My favorite is a feature to change the aspect ratio in one click that feels almost strangely overdue in the best possible way. I am forever forgetting to mention the size, so being able to play with the visual part first, and then adapt it in a scope for different platforms and sizes, all in the same chat… feels almost illegal!
For a long time, even the strongest AI image tools could feel unreliable in everyday work: text came out warped, infographic layouts fell apart, and prompts often needed endless trial and error before producing something usable. With this update, OpenAI seems less interested in presenting image generation as a novelty and more interested in making it behave like a working tool. That is probably the most interesting change. But let’s not get ahead of ourselves.
In this article we will hack the April 2026 update, its new shiny features, and best prompting methods. Follow my lead to figure
- how to prompt like a pro,
- how creators use AI-gen images in real-work scenarios,
- and find out how smart this model got so far.
How to prompt ChatGPT Image in 2026
With GPT Images 2.0, the model is even more attentive to your instructions now, which means your input prompt matters even more. As a rule, you get best results when you describe an exact output, not a vibe. Here’s how to step up your prompting game.
Rather than squeezing everything into one long prompt, build output description from separate, editable parts. That makes the prompt easier to scale, easier to refine, and even less chaotic once you begin iterating hard.
When writing it, describe the image in a clear sequence: first the overall composition, then the style, typography, color, secondary details. This is the strongest formula for writing image generation prompts with modern AI-image generation models.
| Components | Description | Example |
|---|---|---|
| Subject | What is the main thing? | Let’s say Apple. |
| Scene | Where is it happening? | Apple is on the table. |
| Composition | Camera angle, framing or layout. | Close-up photo of the apple on the table. |
| Style | Visual direction to follow. | Hyper realistic close-up photo of the shiny apple, laying on the table. |
| Details | Text, color shades, background, etc. | Add a little yellow sticker on the fruit with a smiley face. |
Have you noticed something odd? You see, in this example prompt we still keep the model guessing, which makes the output more unpredictable.
What color should the apple be? a model would ask. But GPT Image will try to guess it. So, put all the important details in the beginning of the prompt, for a more predictable result.
Now, about the prompt length absolutes. A short prompt gives the model some space to be creative, yet sometimes add something completely alien to the request. A stronger prompt covers all necessary details without overcomplicating things.
A good mental exercise for first time prompters is to imagine you give a task to an outsourced graphic designer. First, you will of course include references, and then give as much detail as possible without making it too mixed up for a human. This way of thinking will work with AI models too, as it speaks our natural language.
ChatGPT Image 2.0 just got even better in image generation
Let’s compare the newest updated 2.0 version with its predecessor, GPT Image 1.5 version, while finding out why it is beneficial to prompt the model with enough information for a better controlled output.
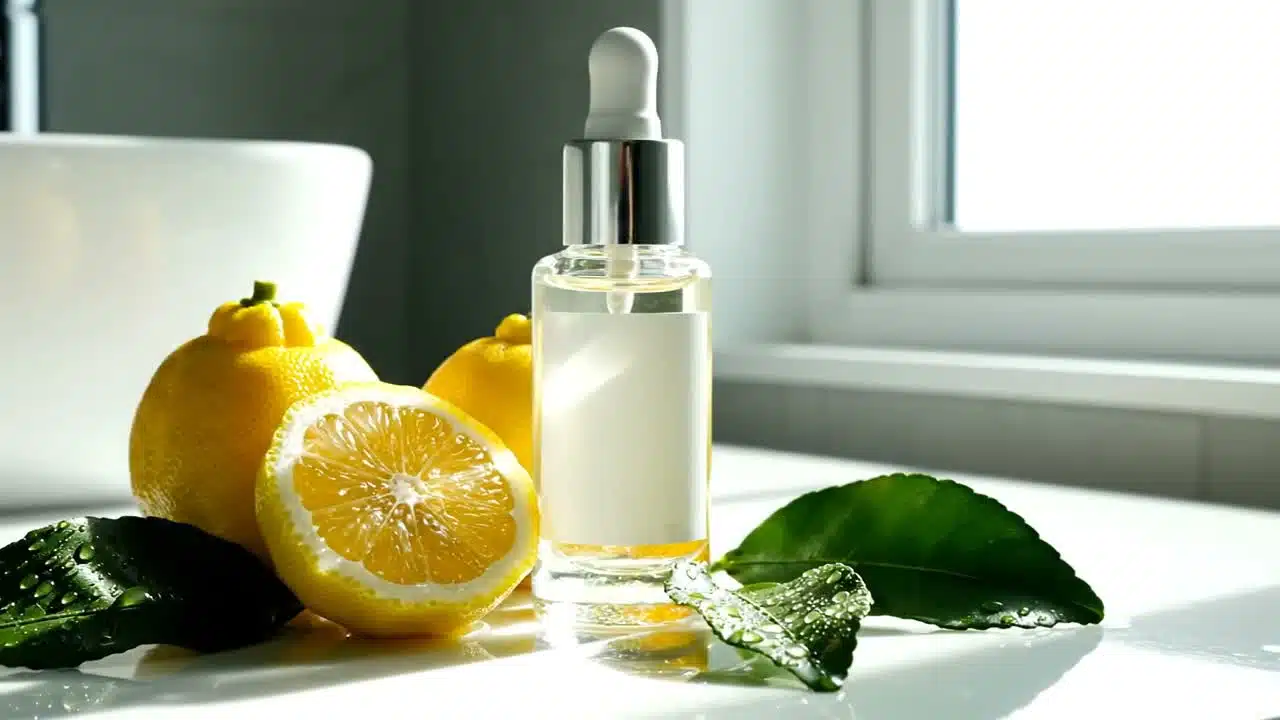
Super shot prompt example
A nice product photo for social media
Detailed prompt example
A clean product photo of a skincare bottle placed on a beige stone surface, soft natural lighting, minimal shadows, centered composition, shot from a slightly elevated angle, with space above for text, modern Pinterest-style aesthetic
From the first glance, the difference between versions 1.5 and 2.0 is easy to spot. With the latest update, GPT Image has become noticeably better at following instructions and creating designs that look like they belong in 2026. Another big leap happened in text rendering, and ChatGPT is clearly not shy about it, if shy at all, placing it everywhere.

What’s new in GPT Image 2.0
Though for now you need to wait a bit longer per image generation, it seems to be worth the wait. The newer model comes with a better layout control, introducing camera angles grip, meaning now you can be your own photographer and director. Imagine there is a camera in your hands, with just a few words and you can shift the perspective and add dynamic.
I personally took a note on how GPT image generation tries to be even more useful for business and creatives dealing with visualisation of hard data. Infographics, fantasy charts and overall slide-by-slide presentation building just got much better.
One of the most useful updates is tactical editing. You can now select a specific area of the image and edit only that part with a further prompt. Before, even the smallest change meant risking getting a completely different picture. Now the process feels far more controlled, with fewer iterations, fewer credits wasted, and far fewer nerves down the drain.
How to get better results generating images with text
The biggest upgrade in ChatGPT Images 2.0 is text generation quality. For practical design work, that changes quite a lot, as you can imagine. Text rendering with AI matters most in places where words have a visual job: presentation slides, video thumbnails, digital or printed ads, social media posts, and promo graphics, like skincare product shots we made before.
A funny side effect of GPT Image getting better at rendering text is that now it tends to add it literally everywhere! For that I recommend using a negative prompt.
The model 2.0 also got extremely good at handwritten text. Notes on paper, marker-style words, scribbles on packaging, casual lettering, even complicated texts, all came out natural. If you can’t quite master the description of how the writing is placed, just scribble it on the paper, send a reference picture in the chat, and you got it.
The simplest rules are still the most useful ones for text rendering on AI images:
- Put the exact wording in quotation marks.
- Keep the text short enough to fit naturally.
- Specify where text should appear: on a label, across a sign, etc.
For the experiment, I tried a prompt that gives the model a complicated task, text to be written by AI and integrated into the scene. Each word had to appear on the back of a chair, in a lively illustrated office, with multiple characters. Enough complexity to tempt the chaos.

While iterating, GPT made a funny mistake. One of the chairs’ labels came out as PROOFREEGAL. And just like that, a new profession was born somewhere between proofreading and paralegal work. To be fair, though, it was an easy fix, even without photoshopping. In the very next iteration, I simply selected the wrong word and corrected it without any other changes. Voila!

How to add camera angles to new GPT Images 2.0
A major improvement in this version is composition control. You can now guide framing much more reliably and get better results if you know how to name it, professionally speaking.
Changing the camera angle is one of the simplest ways to shift power dynamic and mood of the image being generated. A straight-on eye-level view just feels neutral and readable. A low angle will make the subject feel larger, stronger, more dramatic. While a high angle can make it feel smaller, softer, or even more exposed. This can shape a whole narrative, and come extremely handy while using first and last frames in AI-video generation.

Just a few words you add to the prompt make a big difference. But be mindful. Cinematic angle is often too loose. Eye-level portrait, centered framing gives the model much more to hold on to. The same goes for shot from slightly above, front-facing close-up, or low-angle wide shot with the subject near the foreground.
How to apply iteration logic to AI image generation
Instead of trying to get the perfect image in one go, iterate your prompt. Change one thing at a time, for example, keep the subject stable, but adjust the camera instructions.
Iterations help you define the result you want to get, and more often than not it is indeed a creative process, at the end of which you can end up with something even better than what you had in mind at the beginning.
In other words, if the image feels messy, specify the shot more clearly. Add terms like close-up, medium shot, wide shot, centered, symmetrical, top-down, or eye level.
Well, if the subject itself becomes confusing, reduce the number of objects, style cues, and actions competing for attention.
Problems with text? Just keep it shorter and place it strategically in prompt, where the model can handle it more easily.
Use cases for GPT Image generation for creatives
What makes GPT Image generation genuinely useful for creative work is not just that it can make images. It is that it can make specific kinds of images quickly, with enough control to fit into real workflows. After testing it across different tasks, you will not think of it as a single-purpose image tool, that I can promise.
GPT Image 2.0 can help with social media visuals like post concepts, carousel covers, thumbnails, and quote graphics. For marketing creatives, it can bring quick ad visual drafts, banners with text, promo materials, and product-in-scene compositions without building manually. For stylized photoshoots, it can generate Pinterest-style scenes, lifestyle images, faux UGC, or campaign moodboards before a real shoot exists.
Some of the more practical and, maybe for some, unexpected use cases are complex analytics visualisation and diagrams, where information can be turned into branded or thematic visuals.
And sure you can do photo editing, where GPT helps extend backgrounds, remove distractions, reframe images, or create alternate versions for different formats without changing the face and making you work yourself. What a blast!
FAQ
How to edit a ChatGPT-generated image without regenerating the whole thing?
ChatGPT now lets you edit images in two ways: you can either select a specific area with the selection tool and describe the change, or simply describe the edit in chat and let the model apply it more broadly. That makes the workflow much calmer for practical design tasks, especially when the image is already almost right and only one label, object, or corner needs fixing. In other words, the article’s tactical editing point is real, and officially supported now.
What kind of reference image should I upload when working with ChatGPT Images 2.0?
For product images you can upload high-quality images that contain the subject you want preserved. You can also reference composition, shape, branding cues, lettering style, or mood. ChatGPT supports PNG and JPEG files up to 20MB each. It also works with messy screenshots, hand drawings, doodles, drafts and conflicting references. The clearer the source image, the less the model has to invent, which usually means fewer weird surprises later.
Why does it take so long to generate images with ChatGPT now?
Well, more complex images can take up to two minutes to render, which tells you something important: the model is doing more, not instantly rendering everything perfectly. So yes, outputs are much more usable now for ads, social posts, diagrams, and mockups, but it takes some time. Also, more users mean more time in line.